
Third Annual Christmas baking
In early December, Sylvie and I got together for our third annual Christmas baking and decided to make two familiar recipes – sucre d’orge (barley sugar) and homemade gumdrops – and one new one, chocolate covered cherries. Notably missing this year were the candy canes. We decided we’d rather make a few more things that we enjoy eating and I decided I could do without the stress.
We started the day off with the chocolate covered cherries because the recipe called for several intervals where things chilled and we were going to work on other recipes in the meantime. We used the recipe found here and we decided to make a double recipe.

We drained the cherries and picked the nicest 72 and put them aside. Then we prepared the white sugary dough, and rolled the dough in to balls.

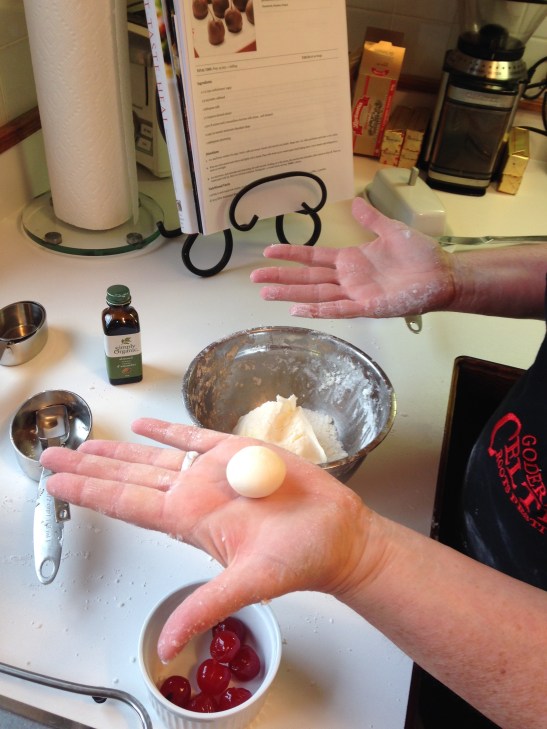
Once all the balls were all formed, we flattened them and wrapped them around each cherry.

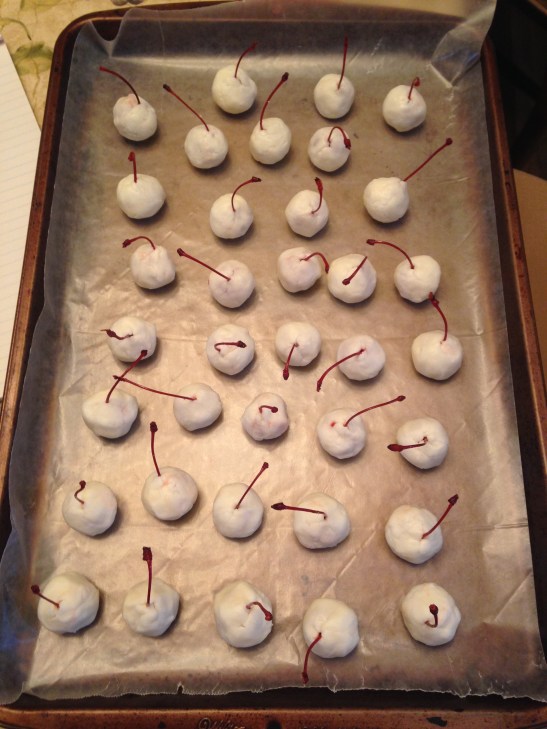
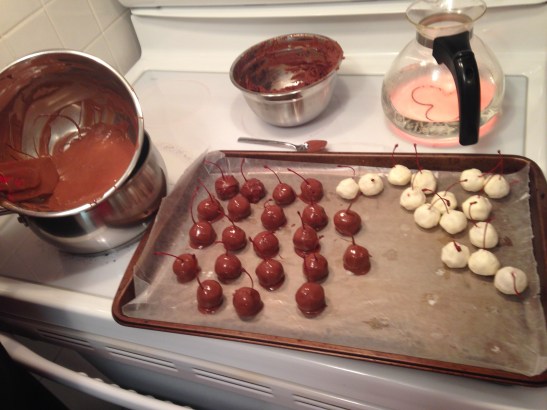
We refrigerated these for 4 hours and then dipped them in chocolate. I did mine in milk and Sylvie did hers in dark. As you can see in the background, we had a small incident with water splashing in to the first batch of milk chocolate when it was melting and it seized almost instantly.
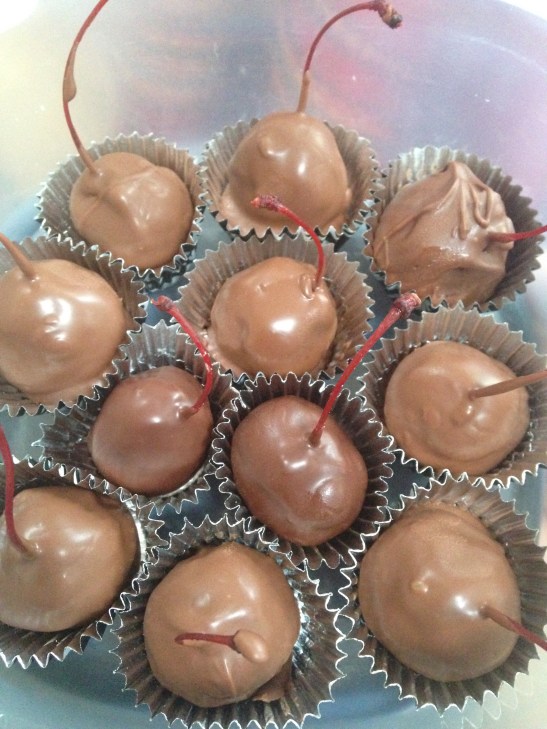
Once they were all dipped we let them sit over night and then stored them for 2 weeks before we tried them. Boy did they look delicious.
While the cherries were wrapped in the sugar paste and in the fridge for 4 hours, we started making the gummies, using the same recipe as last year.

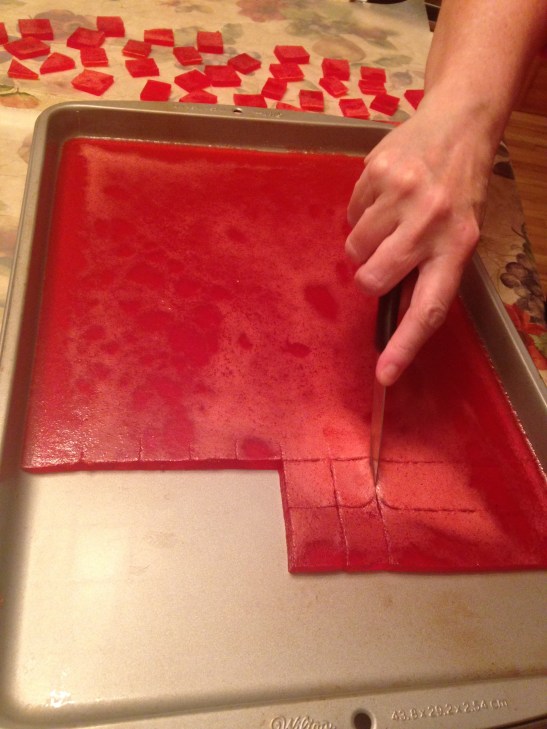
We made a pan of red and a pan of green. Instead of cutting them with little shapes like last year, we decided they would taste just as good (and take us half the time) if we cut them in squares.
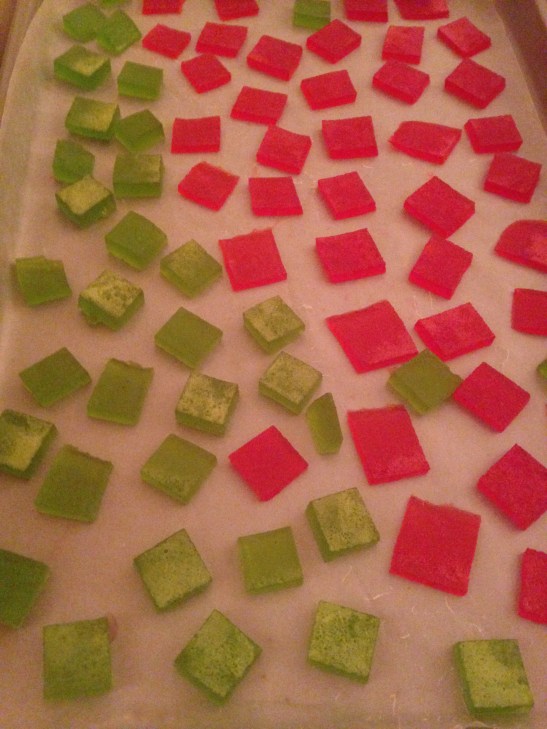
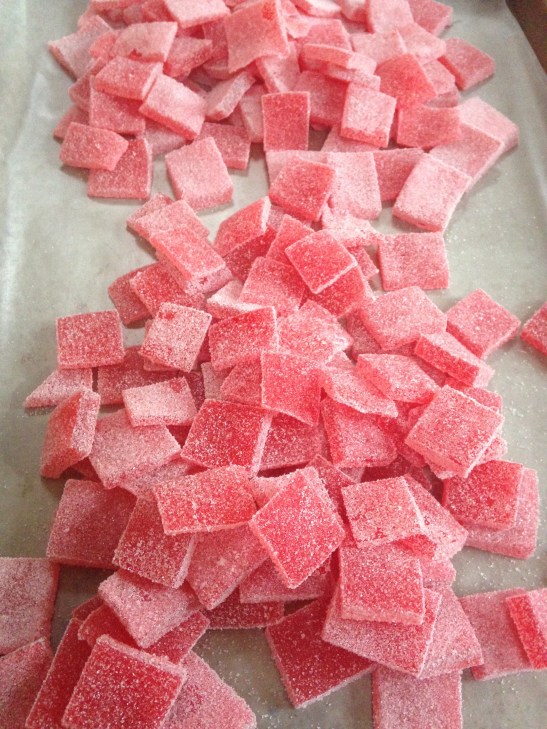
We let them harden overnight and then shook them in sugar in the morning. They were really quite delicious!
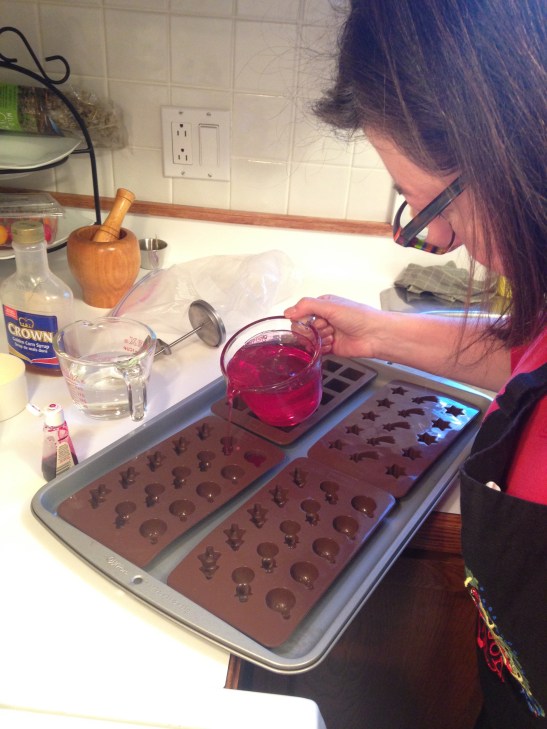
While the gummies were setting in the fridge we decided to just whip up a batch of sucre d’orge like we did last year. No big deal. Just a quick and easy little batch of hard candy. Well, the first batch burned. And as much as I’d like to blame the candy thermometer, or the humidity, or the size of the pot (or perhaps all of the above) the truth is, neither of us were too sure what happened. So naturally, we tried again. After all, last year we threw this recipe together without even thinking about it .
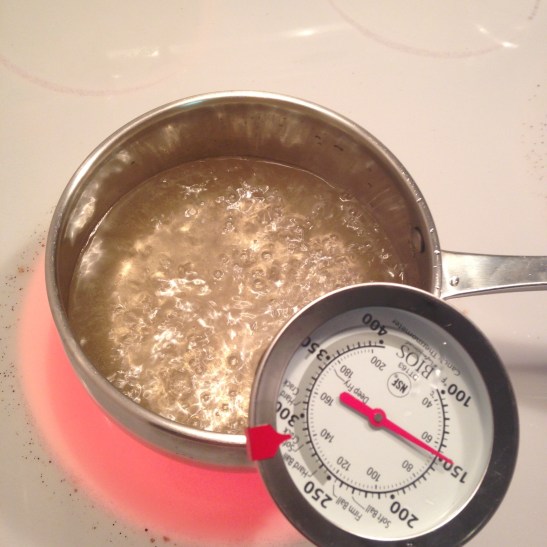
Well we tried using a smaller pot and didn’t take our eyes off the boiling candy. We had to use the traditional method of testing for “soft crack” state by dropping a little bit of the boiling candy in to a glass of water and testing it to see when it is pliable and makes little cracking sounds. As soon as we thought it was ready, we quickly pulled it off the heat, added the colour and poured it in to the moulds.

The candy was delicious, but we suspect we didn’t cook it quite long enough because it got very sticky at room temperature. So we’ll try again next year with a digital thermometer and hope we can get it right again.
Despite some ups and downs, we sure did make a lot of candy.

Once all of the candy was made, we sat down at the table to make our ornaments. Sylvie bought a very handy 2 inch hole punch which we fondly nick-named the “cachunker.” It might be my new favourite crafting tool.
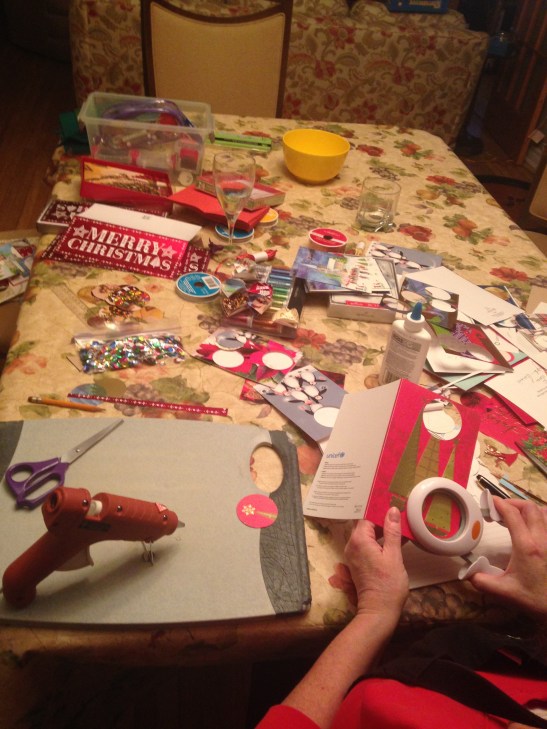
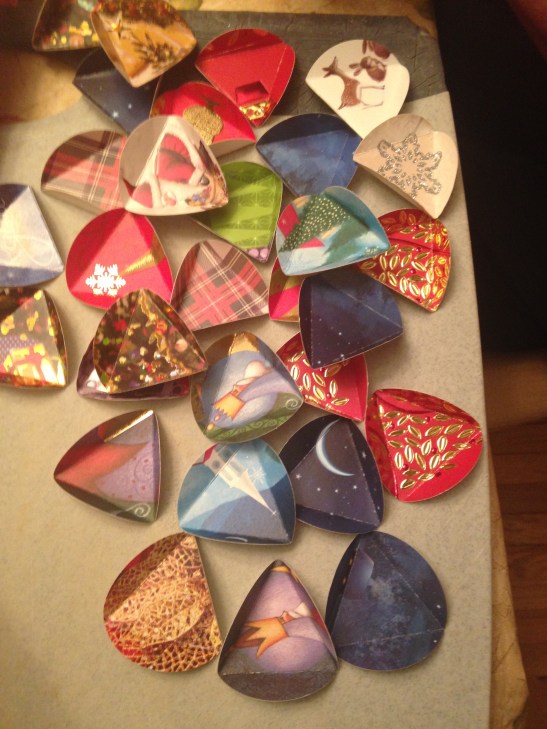
We cut circles out of old Christmas cards then folded three sides up and glued them together to make a ball.
My ball turned out OK, it had a few gaps but for the most part, it looked OK.
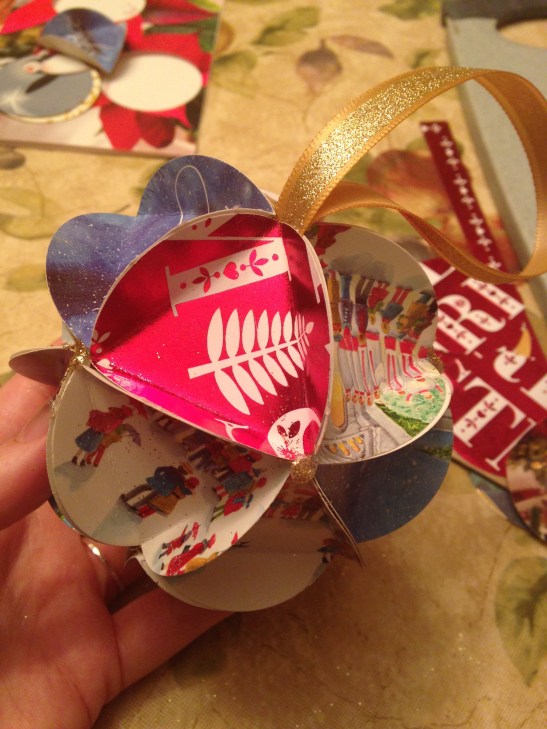
Sylvie’s turned out beautifully.

We had such a great day and we’ve already started planning for the next!
